Secrets to a Thriving Vegetable Garden: Key Strategies for Success
Growing a successful vegetable garden doesn’t take years of trial and error or fancy gear. Many gardeners struggle with poor harvests, pests, and plants that just won’t thrive.
The difference between a struggling garden and a thriving one usually comes down to a handful of principles. These principles work together to create the right environment for your veggies.
The secret to a thriving vegetable garden lies in mastering three basics: healthy soil preparation, smart plant placement, and consistent care all season long.
When you focus on building rich soil, picking the right spot for each plant, and staying on top of watering and pests, you set your garden up for success. These habits help plants grow deep roots, fight off disease, and produce more food.
Whether you’ve got a big backyard or just a few pots, these techniques can make any space more productive. Let’s dig into the strategies that help gardeners grow healthy, tasty veggies from spring through fall.
Key Takeaways
- Start with nutrient-rich soil and pick spots with plenty of sun for each veggie
- Use companion planting and crop rotation to keep pests away and make the most of your space
- Stick to a watering routine and check plants regularly to keep them healthy
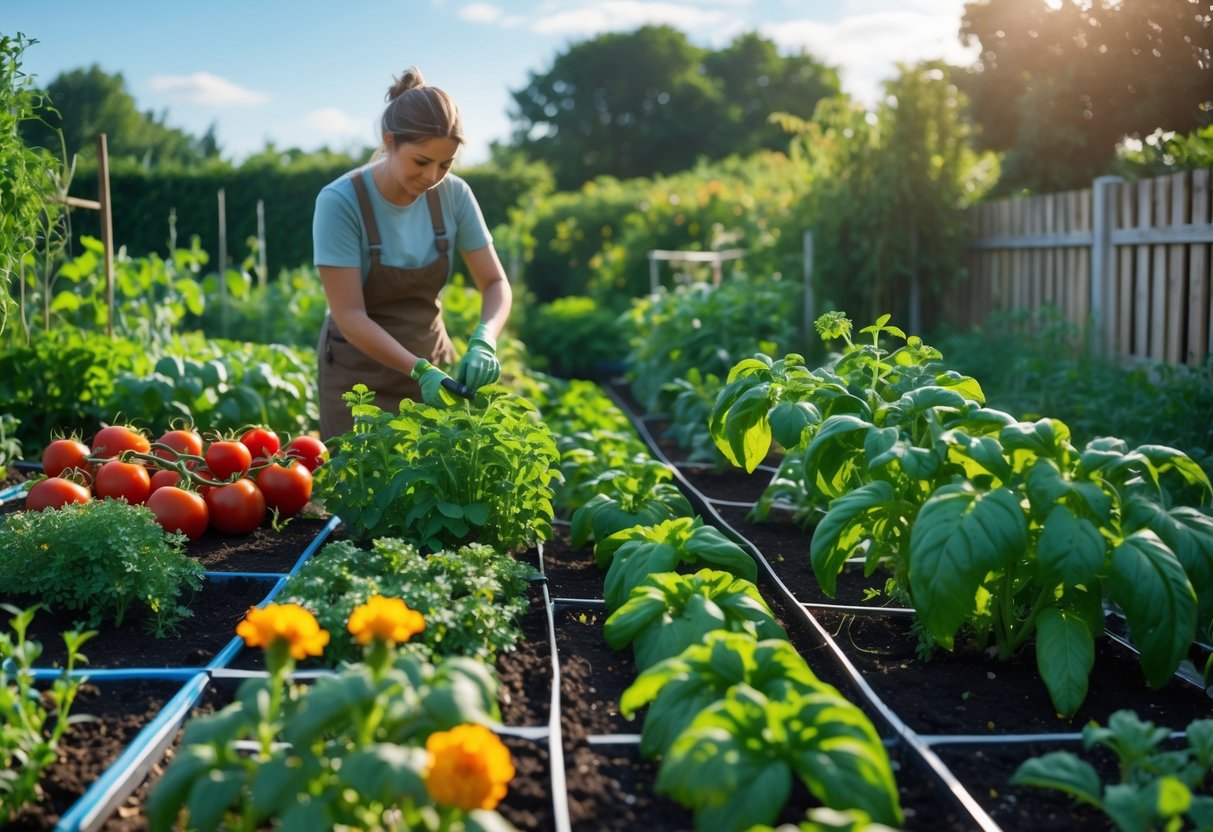
Planning Your Vegetable Garden
The success of any vegetable garden starts with smart planning. Location, layout, and your chosen growing system all matter.
These three things set the stage for great homegrown produce. If you skip this step, you’ll probably regret it later.
Choosing the Right Location
Finding the right spot is huge for a thriving vegetable garden. Plants need 6-8 hours of direct sunlight every day to really do their thing.
Morning sun is especially helpful—it dries dew fast and keeps diseases away. Take a look after a heavy rain to see how water drains in different spots.
Vegetables struggle or even die in soggy areas where water just sits. You want ground that drains well, but not so fast that it dries out instantly.
Location Requirements:
- Full sun (6-8 hours daily)
- Good drainage
- Easy access to water
- Protection from strong winds
- Level or gently sloped ground
Avoid low spots where cold air gathers—those areas get frost first and thaw last. Test the soil in your chosen area.
Most veggies prefer soil with a pH between 6.0 and 7.0. Keep your garden close to the house if you can; you’ll check on it more and harvest more often.
Designing a Productive Garden Layout
A good garden layout makes the most of your space and keeps chores manageable. Square foot gardening is a favorite for both tiny and big gardens.
Traditional row gardening uses long rows with paths between. This style works best if you’ve got lots of room to spread out.
Layout Options:
- Rows: 18-36 inches apart, best for large gardens
- Square foot: Beds divided into 1-foot squares, good for small spaces
- Intensive planting: Plants close together, no walking paths in beds
Put tall plants like tomatoes and corn on the north side so they don’t shade the shorter crops. Plan paths that are 2-4 feet wide for easy access.
Narrow paths save space but can make picking harder. Group plants with similar water and care needs together—herbs usually need less water than greens.
Leave some room for trellises or supports. Climbing plants like beans and peas can go up instead of out, saving you ground space.
Selecting Raised Beds and Containers
Raised beds give you better soil control and drainage than planting right in the ground. They’re especially handy for beginners and anyone with limited space.
Keep beds 4 feet wide max so you can reach the middle without stepping in. Make them as long as your space allows.
Raised Bed Materials:
- Cedar wood (lasts long, resists rot)
- Composite lumber (durable)
- Stone or brick (permanent)
- Metal panels (modern style)
Height depends on what you’re growing. 8-12 inches deep works for most veggies, but root crops like carrots need deeper beds.
Container Options:
- Large pots (at least 5 gallons)
- Pallet gardens (budget-friendly)
- Cobblestone raised beds (decorative, sturdy)
- Window boxes (for herbs and small greens)
Fill raised beds with a quality potting mix, not garden soil. Garden soil can get heavy and drain poorly in containers.
Containers dry out faster than beds in the ground. Bigger containers hold moisture better and give roots more space.
Optimizing Soil for Thriving Plant Growth
Good soil is the real backbone of a healthy vegetable garden. It supplies nutrients, drains well, and sets the stage for growth.
Testing your pH, adding organic matter, and mixing in nutrient-rich materials all help you build the best soil possible.
Testing and Balancing Soil pH
Soil pH changes how well plants absorb nutrients. Most vegetables like their soil between pH 6.0 and 7.0.
You can test your soil with simple kits from the garden center. These kits tell you if your soil’s too acidic or too basic.
If soil is too acidic (below 6.0):
- Add lime to raise the pH
- Mix in wood ash (from untreated wood)
- Sprinkle crushed eggshells around plants
If soil is too basic (above 7.5):
- Add sulfur to bring pH down
- Mix in peat moss
- Use organic matter like pine needles
Test your soil every spring before planting. That way, you can fix any issues before it’s too late.
Improving Soil Quality and Fertility
Healthy soil has a crumbly texture, holds water, and drains off the excess. If your soil is too sandy or too clay-like, plants will struggle.
Sandy soil drains too fast and loses nutrients. Clay soil stays wet and gets hard as a rock when dry.
Add organic matter to fix both problems. It helps sandy soil keep water and nutrients and loosens up heavy clay soil.
Signs of good soil:
- Dark brown or black color
- Lots of earthworms
- Crumbles easily
- Smells earthy, not sour
Regular soil testing tells you what nutrients you’re missing. Plants need nitrogen for leaves, phosphorus for roots and flowers, and potassium for overall health.
Enriching Soil with Compost and Manure
Compost and manure add nutrients and improve the soil structure. They also feed the good microbes and worms that help plants grow.
Compost benefits:
- Adds slow-release nutrients
- Improves water holding
- Creates a better soil texture
- Reduces the need for chemical fertilizers
Make compost from kitchen scraps like veggie peels, coffee grounds, and eggshells. Add yard waste, too—leaves, grass clippings, and small sticks.
Mix equal parts green stuff (with nitrogen) and brown stuff (with carbon). That balance keeps your compost cooking.
Well-rotted manure provides:
- Lots of nitrogen
- Organic matter for better structure
- Helpful microorganisms
- Long-lasting soil improvement
Use manure from cows, horses, or chickens, but let it age for at least six months. Fresh manure is too strong and can burn plants.
Each spring, spread 2 to 4 inches of compost or aged manure on your beds. Work it into the top 6 to 12 inches of soil before planting.
Mastering Planting Techniques for Maximum Yields
The right seeds, good germination habits, and smart planting techniques give your veggies the best head start. These basics set up your garden for strong plants and big harvests.
Choosing High-Quality Seeds
Quality seeds really do make a difference. Fresh seeds sprout better than old ones.
Always check the seed packet for the current year. Seeds lose power as they age, though most stay good for 2-3 years if you store them right.
Hybrid varieties usually yield more and resist disease better than the old-fashioned types. Tomatoes, peppers, and squash especially benefit from hybrids.
Look for seeds labeled as disease-resistant. These types fight off blight, mosaic virus, and other headaches. Seed packets often list codes like VFN for tomatoes.
Buy from reputable seed companies. Local garden stores tend to carry varieties that do well in your region. Online shops have more options, but check reviews before you buy.
Store leftover seeds in a cool, dry spot. A sealed container in the fridge works great. Don’t forget to label the year so you know how old they are.
Best Practices for Germination
Getting seeds to sprout right gives them the energy for strong growth. Each veggie has its own preferences for temperature and moisture.
Soil temperature usually matters more than air temperature. Grab a soil thermometer and check before planting—seriously, it makes a difference.
Cool-season crops like lettuce pop up at 45-65°F. Beans and other warm-lovers want 60-85°F.
Pre-soaking helps hard seeds start faster. Soak beans, peas, and corn for 8-12 hours before planting to soften their coats and cut down on waiting time.
Keep soil moist but not soggy. Dry soil halts germination, but too much water will rot seeds. Check daily and use a spray bottle or mist setting to water gently.
Start seeds indoors if you want a longer season. Tomatoes and peppers do best when planted 6-8 weeks before the last frost. Use seed starting mix, not garden soil, for better drainage.
Heat mats under seed trays keep the soil warm and steady. Most seeds sprout faster with a little bottom heat.
Effective Planting Methods
Good planting techniques help roots settle in and make the most of your space. Spacing and timing can prevent plants from competing for resources.
Succession planting keeps harvests coming longer. Try planting small batches of quick growers like lettuce, radishes, and beans every 2-3 weeks.
Use intensive planting if your space is tight. Square foot gardening breaks beds into 1-foot squares, with each holding a set number of plants based on their mature size.
Plant seeds at the right depth. The basic rule: plant them twice as deep as they are wide. Tiny seeds like lettuce need just a 1/4 inch of soil on top.
Companion planting means pairing veggies that help each other. Placing basil next to tomatoes can boost flavor, and scattering marigolds around the garden helps keep pests away.
Time your plantings by local frost dates and plant hardiness. Hardy veggies like kale can be planted 4-6 weeks before the last frost, but tomatoes need to wait until the frost is long gone.
Maximizing Sunlight Exposure and Watering Efficiency
Sunlight and steady watering are the backbone of a thriving veggie garden. Most vegetables want 6-8 hours of direct sun, and smart watering cuts waste by getting moisture straight to the roots.
Meeting Sunlight Requirements
Different veggies crave different amounts of sun, and it shows in how they grow. Full-sun vegetables like tomatoes, peppers, cucumbers, and squash need 6-8 hours of direct sunlight a day.
Partial-sun veggies do fine with 4-6 hours—think lettuce, spinach, broccoli, and peas. They often like it cooler and can bolt if things get too hot.
Shade-tolerant crops get by on just 2-4 hours. Kale, Brussels sprouts, and lots of leafy herbs do surprisingly well in the shade.
Put tall plants on the north side of beds so they don’t block sun from shorter ones. Sometimes, reflective mulch or pale stones can bounce extra sunlight into shadier spots.
Sun patterns shift with the seasons. In winter, the sun’s lower angle means longer shadows from trees and buildings. It’s worth planning your layout with this in mind.
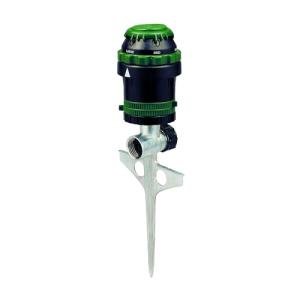
Establishing a Watering Schedule
Sticking to a watering routine keeps plants happy and growing. Most veggies need 1-2 inches of water per week, rain included.
Morning watering—anywhere from 6 to 10 AM—lets plants soak up moisture before the sun gets intense. It also helps cut down on fungal issues.
Poke your finger two inches into the soil. If it’s dry, it’s time to water. Sandy soils dry out faster and need more frequent watering than heavy clays.
Deep, infrequent watering pushes roots deeper, making plants more drought-resistant and sturdy.
Seedlings need daily water until they’re settled in. Mature plants usually get by with watering every 2-3 days, depending on weather and soil.
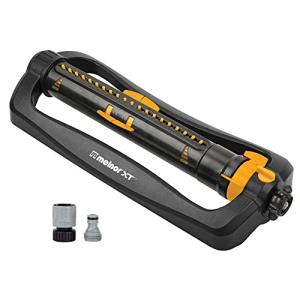
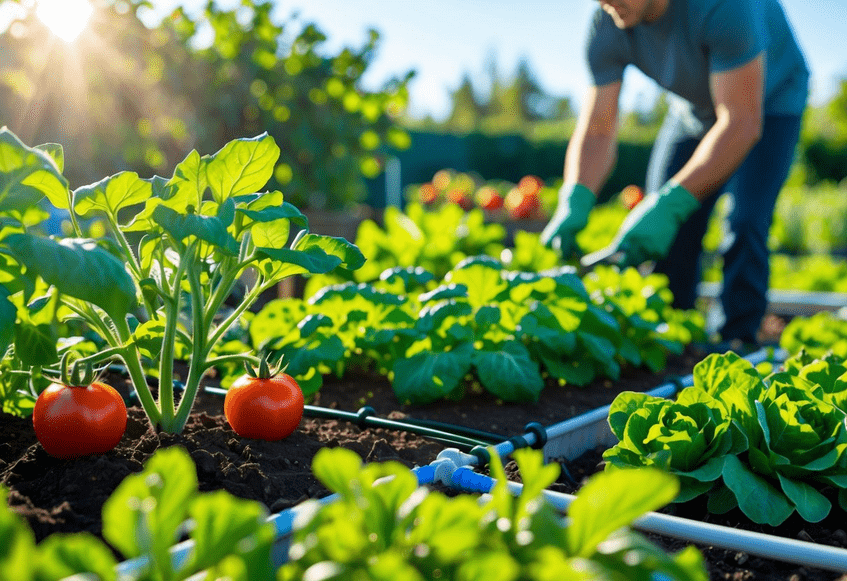
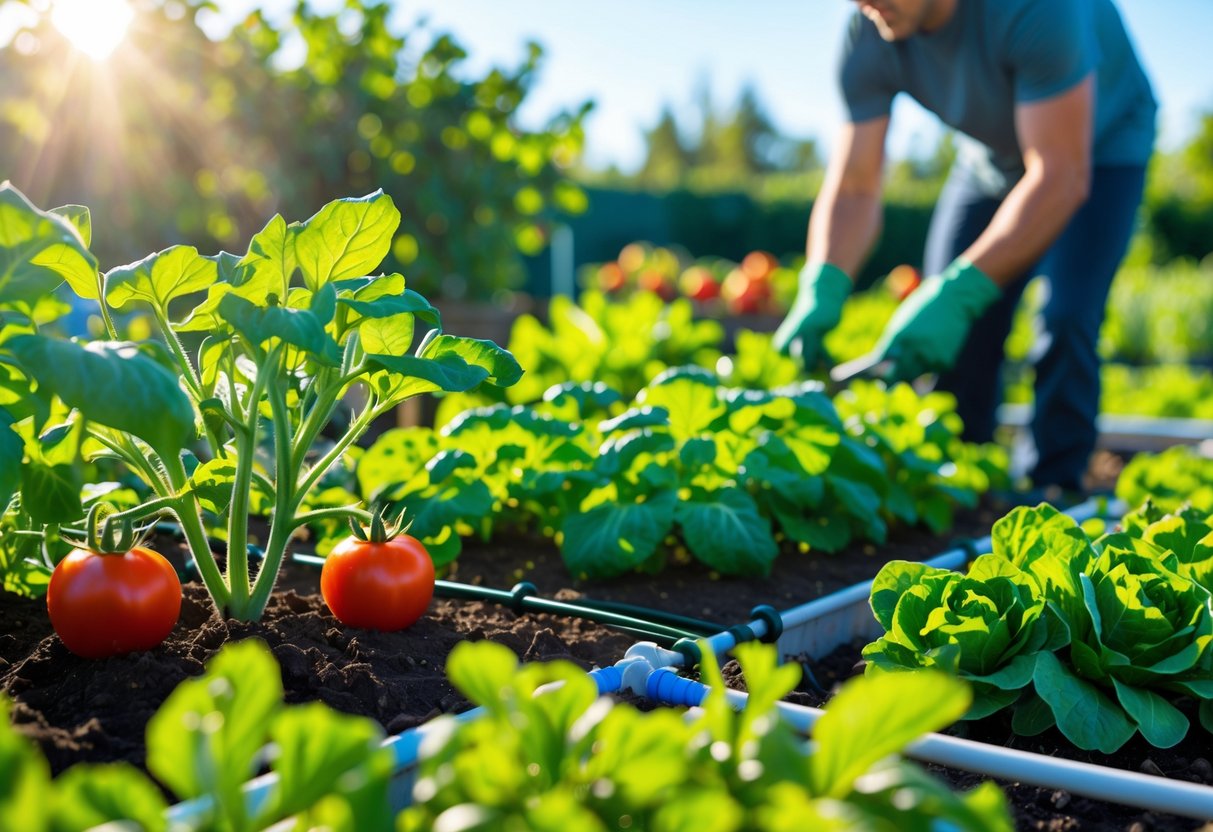
Using Drip Irrigation and Soaker Hoses
Drip irrigation and soaker hoses send water straight to the roots, cutting waste and leaf diseases. They use 30-50% less water than sprinklers.
Drip irrigation uses tubes with emitters spaced along the line, giving precise water delivery. It’s great for raised beds and containers.
Soaker hoses let water seep out along their length. They’re perfect for rows or areas with similar needs.
Both systems work with timers for hands-off watering. Lay tubes or hoses 2-4 inches from plant stems for best results.
Mulch over drip lines or hoses keeps moisture in and systems cool. Straw or shredded leaves also break down and feed the soil.
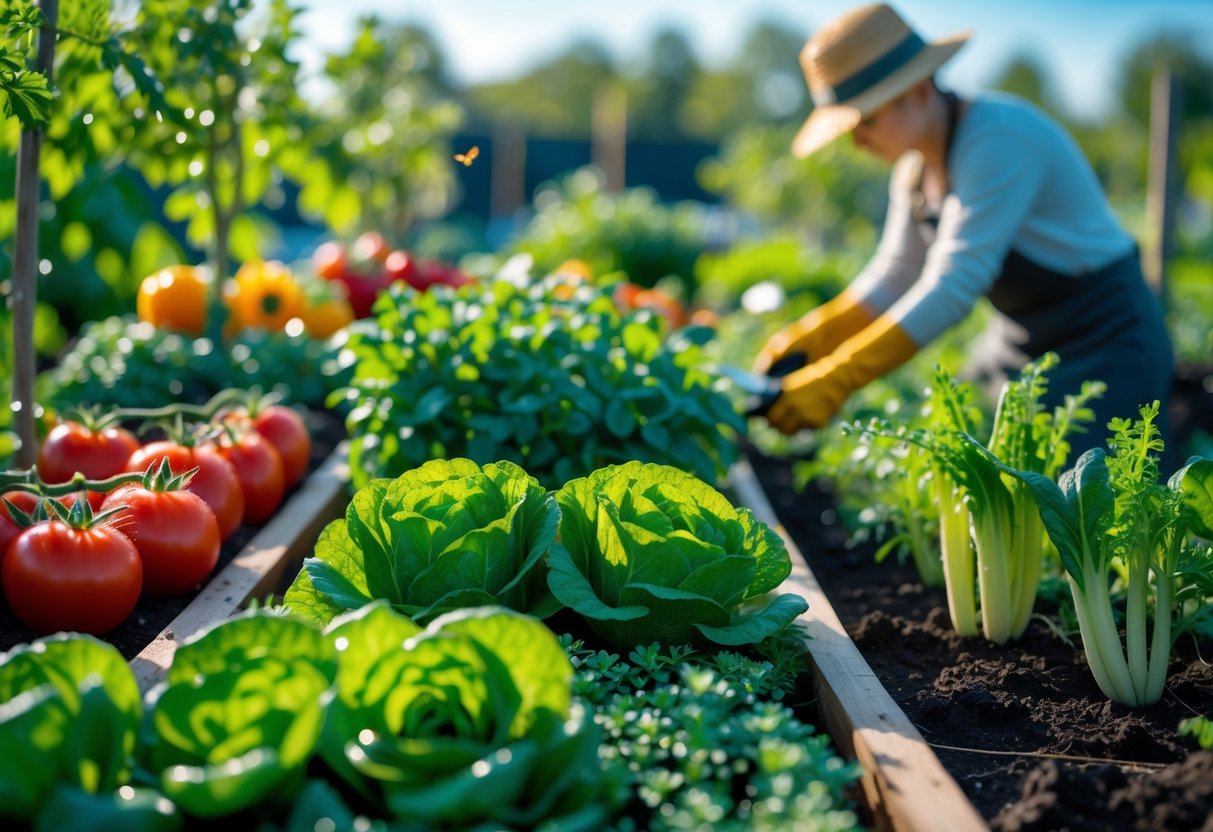
Enhancing Garden Health with Companion Planting and Rotation
Smart plant pairings and crop rotation bring natural pest control and better soil health. These methods build stronger, more productive gardens with fewer chemicals.
Companion Planting Strategies
Companion planting is all about putting plants together that help each other. Some keep pests away, others boost soil or attract friendly bugs.
Classic Plant Partnerships:
- Tomatoes and basil repel thrips and whiteflies
- Carrots and onions shield each other from certain flies
- Marigolds near potatoes deter nematodes and Colorado potato beetles
The Three Sisters Method
Corn, beans, and squash make a great trio. Corn gives beans something to climb, beans feed the corn with nitrogen, and squash shades the soil to keep moisture in.
This old Native American method really shows how plants can work together. Each one brings something different to the table.
Natural Pest Control
Pungent plants like chives and garlic keep pests at bay. Plant them near lettuce to stop aphids and slugs. Nasturtiums protect cucumbers from beetles and look nice too.
Herbs do double duty—pest control and fresh flavor. Companion planting is practical and, honestly, kind of fun.
Benefits of Crop Rotation
Crop rotation means moving plant families to new spots each year. It breaks pest and disease cycles and helps the soil recover.
Breaking Pest Cycles
Lots of pests stick to certain plant families. Rotating crops makes them hunt for new food, which naturally cuts their numbers.
Root diseases build up when the same plants grow in one place. Switching things up starves these diseases out.
Soil Health Improvements
Different plants take and give back different nutrients. Rotating balances these exchanges over time.
Legumes like beans and peas add nitrogen. Follow them with heavy feeders like tomatoes or corn, then plant light feeders like herbs to give the soil a break.
Simple Rotation Plan
Divide your garden into four parts. Move plant families through each section every year:
- Legumes (beans, peas)
- Leafy greens (lettuce, spinach, kale)
- Root crops (carrots, beets, radishes)
- Fruiting plants (tomatoes, peppers, squash)
Controlling Pests and Promoting Plant Health

Natural deterrents, helpful insects, and physical barriers all work together to keep plants healthy. Mixing these methods protects your garden and builds a stronger ecosystem.
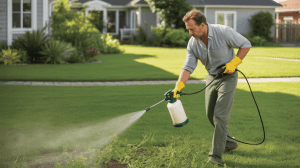
Natural Pest Management Methods
Start with regular plant checks. Look at leaves, stems, and soil every week for damage or unwanted bugs.
Organic sprays like neem oil block pest feeding and reproduction without hurting plants. Apply it early or late in the day for best results.
Insecticidal soap knocks out soft-bodied pests like aphids and spider mites. You can make some at home by mixing mild dish soap with water at about 2% strength.
Companion planting helps repel pests naturally. Marigolds keep nematodes and aphids away, while basil near tomatoes cuts down on hornworms.
Strong-smelling herbs like rosemary and thyme throw off pest insects by masking the scent of their targets.
Physical removal is simple but effective for bigger pests. Hand-pick caterpillars and beetles—just be ready for daily garden patrols during the busy season.
Diatomaceous earth sprinkled around plants forms a barrier. It’s rough on soft-bodied bugs but safe for people and pets.
Encouraging Beneficial Insects
Beneficial insects keep pests in check by hunting them down. Ladybugs, lacewings, and parasitic wasps are some of the garden’s best allies.
Flower diversity draws these good bugs in. Small blooms like alyssum and fennel offer nectar, and native wildflowers work especially well.
Skip broad-spectrum pesticides to protect your helpful insects. Even organic sprays can harm them if you’re not careful.
Water sources help keep beneficial insects around. Set out shallow dishes or birdbaths, and toss in a few stones for safe landings.
Ground beetles munch on cutworms and other soil pests. Leave some mulch or leaf litter so they have places to hide.
Habitat creation supports beneficial bugs’ life cycles. Let a few garden spots stay wild or pile up some brush for nesting.
When beneficial insects thrive, plant health improves and you’ll need fewer interventions. That’s a win for everyone.
Utilizing Row Covers and Eco-Friendly Solutions
Row covers put up a physical barrier against flying and crawling pests. Lightweight fabric lets sunlight and water in but keeps insects out.
Installation timing really matters for row covers. Gardeners should put them on right after planting or transplanting to keep pests away from tender young plants.
Floating row covers shine for crops that don't need pollination early on. When plants start to flower and bees need in, just pull the covers off.
Crop rotation keeps pests from building up in the soil. Moving plant families to new spots every year breaks up pest life cycles.
This method takes some yearly planning for your garden layout.
Healthy soil grows stronger plants that shrug off pest damage. Adding compost and organic matter gives plants a natural boost.
Clean garden practices help cut down on pest hiding places. Removing plant debris and fallen fruit leaves fewer spots for pests to overwinter.
Fall cleanup can make a big difference when spring rolls around.
Mulching around plants saves moisture and blocks weeds. Healthier, less-stressed plants usually fend off pests better.
Innovative Techniques for Small and Vertical Gardens
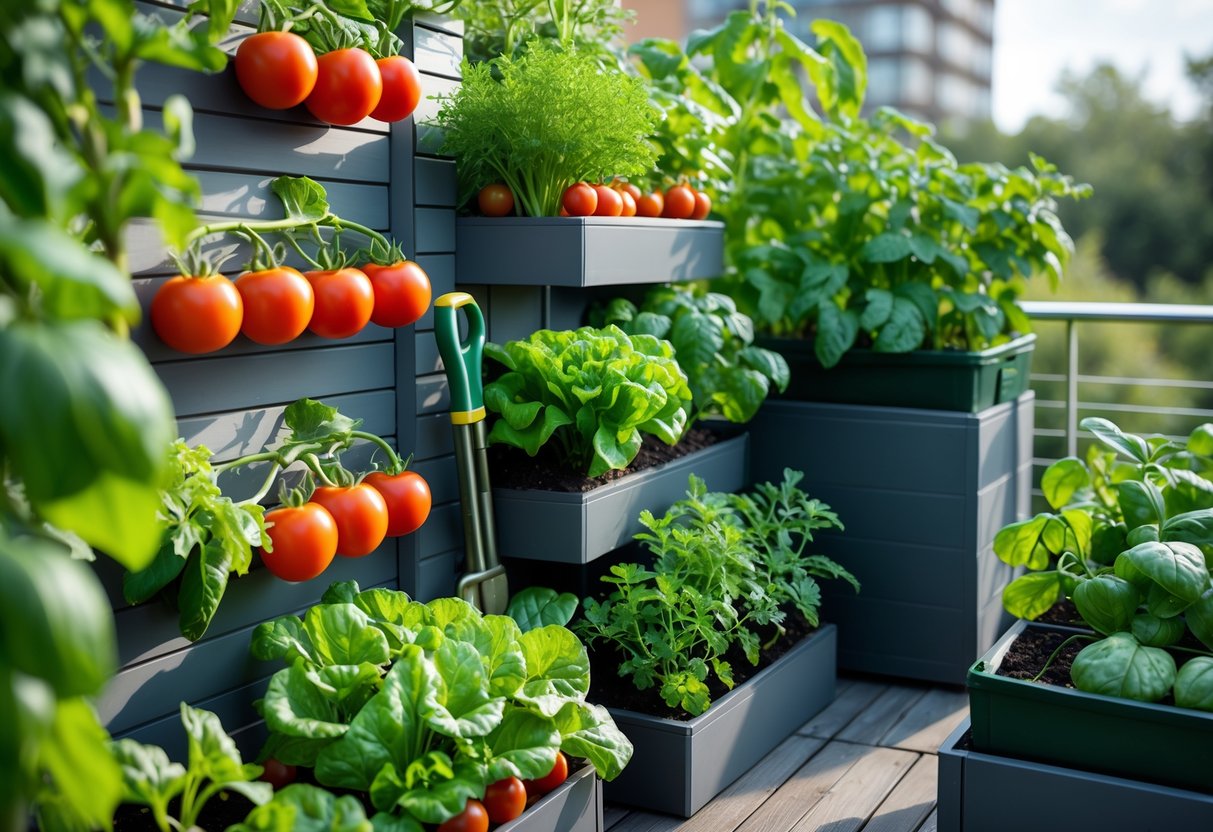
Small gardens can surprise you with big harvests. Trellises let plants grow up, not out, saving space and making chores easier.
Vertical Gardening with Trellises
Trellis types fit different garden needs and plants. Arch trellises work well between raised beds, creating a walkway for easy picking.
Panel trellises line up along fences or bed edges, holding up heavy crops like tomatoes and cucumbers. Obelisk trellises stand tall in the middle of beds for lighter climbers.
Height matters when picking trellises. Pole beans and cucumbers will climb all season, so six feet tall is a safe bet.
Metal or iron trellises stand up to wind and heavy fruit better than wood, honestly.
Proper installation means sinking the base at least a foot deep for stability. Setting trellises north-to-south gives plants more even sun.
It's best to plant seeds on the outside edge for better airflow and less mildew.
Growing Climbing Plants in Limited Space
Vegetable varieties that climb naturally? Think pole beans, sugar snap peas, cucumbers, and fava beans. Tomatoes need a little help but do well on trellises.
Even heavy growers like butternut squash and small pumpkins can go vertical if you support them right.
Training techniques help non-climbers head upward. Tie them with soft twine once a week, guiding growth up the trellis.
Zucchini and other sprawlers need more attention, but the space saved is worth it.
Plant combinations stretch trellis use through the seasons. Spring peas can finish up before summer pole beans take over, then you can squeeze in fall crops too.
Making the Most of Compact Gardens
Space-saving methods can turn tiny spots into productive gardens. Vertical planters hold up to 30 plants in just a couple of square feet.
Hydroponic towers let you grow veggies without soil, using nutrient water instead.
Ground-level planting works under trellises if there's enough light. Herbs, lettuce, and radishes all do well in the shade of climbing veggies.
This layered setup doubles your yield in the same area, which is pretty clever.
Container solutions like hanging baskets and wall planters fit herbs and small veggies on balconies or patios. Stackable planters also make vertical towers where space is tight.
Frequently Asked Questions
Successful vegetable gardening takes good soil, some planning, and steady maintenance. Here are some common questions about creating a productive garden.
What are the essential steps for preparing soil for a vegetable garden?
Testing your soil is the first step. Use a test kit to check pH and nutrients before planting anything.
Most veggies like a pH between 6.0 and 7.0. If your soil's outside that range, add lime to raise it or sulfur to lower it.
Adding organic matter, like compost, improves structure and fertility. Spread 2-3 inches of compost and mix it into the top 6-8 inches of soil.
Well-draining soil keeps roots happy and avoids rot. If you have heavy clay, toss in some sand or more compost to help drainage.
How do you plan a layout for a vegetable garden to optimize space and sunlight?
Most vegetables need 6-8 hours of direct sun. Pick a spot that gets morning light and isn't shaded by trees or buildings.
Place tall plants on the north side to prevent them from shading the short ones. That way, everyone gets enough light.
Companion planting makes the most of your space. Marigolds can deter pests, and basil supposedly boosts tomato flavor.
Succession planting extends your harvest. Try planting fast crops like lettuce every couple weeks for a steady supply.
What are effective techniques for maintaining a healthy vegetable garden throughout the season?
Check your plants weekly for pests, diseases, or yellow leaves. Catching problems early saves a lot of hassle.
Mulch helps hold moisture and block weeds. A 2-3 inch layer of organic mulch keeps watering needs down.
Give your plants enough space. Crowded plants compete for nutrients and get sick more easily.
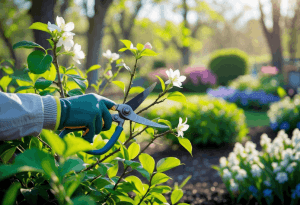
Snip off spent blooms and damaged leaves. Plants put more energy into growing new veggies that way.
What is the most effective way to manage pests and diseases in a vegetable garden?
Spotting trouble early means you can act before things get out of hand. Aphids, caterpillars, and spider mites are common, but each needs a different fix.
Organic methods keep good bugs safe and protect your soil. Handpick big pests, use insecticidal soap for soft-bodied bugs, and try neem oil for a wider range.
Attracting helpful insects like ladybugs and lacewings gives you natural pest control. Plants like dill and yarrow bring them in.
Crop rotation keeps soil-borne diseases and pests from taking over. Move plant families each year to break the cycle and keep soil healthy.
How important is journaling in tracking the progress and issues in a vegetable garden?
Keeping a garden journal is honestly underrated. Write down planting dates, varieties, and harvests to see what works best.
Tracking weather patterns and their effect on your plants helps you fine-tune timing for next season. It can be eye-opening.
Noting pest problems and what you tried lets you spot repeat offenders. You can tweak your approach each year.
Logging yields helps with meal planning and seed orders. You'll know which plants are worth the space next time.
What are the best practices for watering and fertilizing a vegetable garden?
Most vegetables need about one inch of water each week, counting rainfall too. Soil type matters—a sandy bed dries out faster than heavy clay, so you might have to water more often if your soil is on the gritty side.
If you water deeply but not too often, plants will send their roots down and get tougher. Just watering the surface? That leads to shallow roots, and those plants really can't handle a dry spell.
Drip irrigation is a game-changer. It gets water straight to the roots and keeps leaves dry, which helps cut down on wasted water and disease issues.
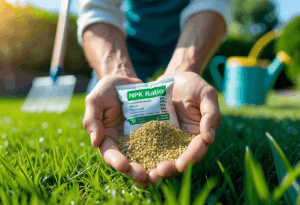
For fertilizer, a balanced mix—like a 10-10-10—usually does the trick for most veggies. Just follow the instructions on the bag, and you’re set.
Organic options, like fish emulsion or bone meal, feed plants slowly and help the soil get better over time. These are great if you want to build up long-term soil health while still giving your garden what it needs.
DISCLAIMER
This document is provided for general information purposes only and should not be relied upon as providing legal advice, technical, or specific operational guidance to the reader, whether as to the practices described in the document or the applicable legal requirements and regulations. Lawnfly.com expressly disclaims any responsibility for liability arising from or related to the use or misuse of any information in this document.