DIY Guide with Diagrams & Supply List
Creating your own raised garden bed is a rewarding project that offers numerous benefits for both you and your plants. Raised beds offer improved drainage, enable optimal soil control, reduce back strain, and create defined growing areas in your yard. Whether you're a beginner or experienced gardener, this comprehensive guide will walk you through the entire process of building a durable, attractive raised garden bed that will serve you for years to come.
With just basic tools and materials, you can complete this project in a single weekend. Follow our step-by-step instructions, complete with diagrams, to create the perfect foundation for growing vegetables, herbs, and flowers in your own backyard.
Benefits of Raised Garden Beds
Before diving into construction, let's explore why raised garden beds are so popular among gardeners of all experience levels:
Gardening Benefits
- Better drainage prevents root rot and waterlogging
- Complete control over soil quality and composition
- Soil warms faster in spring, extending your growing season
- Reduced soil compaction as you never step on growing areas
- Natural barrier against many ground-dwelling pests
- Defined growing spaces for better garden organization
Practical Benefits
- Ergonomic design reduces bending and back strain
- Cleaner gardening experience with less mud and mess
- An attractive addition to your landscape design
- Can be built on existing lawn without removing sod
- Adaptable to various spaces and garden layouts
- Easier to maintain and weed than ground-level gardens
Supplies Needed for a Raised Garden Bed
Gathering the right materials and tools before you begin will make this project go smoothly. Here's everything you'll need to build a standard 4' x 8' raised garden bed that's 12" high:

Materials
- Six (6) 2" x 6" x 8' cedar or redwood boards (untreated)
- Four (4) 4" x 4" x 12" cedar or redwood posts for corners
- 2½" deck screws (approximately 40-50)
- Heavy-duty landscape fabric (4' x 8' piece)
- Optional: ¼" hardware cloth for gopher protection (4' x 8' piece)
- Optional: Two (2) galvanized metal mending braces (10-12" long)
- Optional: Non-toxic wood sealer for a longer lifespan
Tools
- Measuring tape
- Pencil for marking
- Power drill with drill bits
- Saw (circular saw, miter saw, or hand saw)
- Level
- Square for checking corners
- Safety glasses and work gloves
- Optional: Aviation snips (if using hardware cloth)
Wood Selection Tip: Cedar and redwood are ideal choices for raised beds due to their natural rot resistance. While they cost more initially, they'll last 10-20 years without treatment. Avoid pressure-treated lumber for food gardens, as it may contain chemicals that can leach into your soil.
Planning Your Raised Garden Bed

Before cutting any wood or purchasing materials, take time to plan your raised garden bed project properly:
Location Considerations
- Sunlight: Choose a spot that receives at least 6-8 hours of direct sunlight daily for most vegetables.
- Water Access: Position beds near a water source to make irrigation convenient.
- Orientation: Align longer beds north-to-south to prevent plants from shading each other.
- Spacing: Leave at least 24-36 inches between multiple beds for comfortable access with tools and wheelbarrows.
- Level Ground: Select a relatively level area or be prepared to level the ground before installation.
Size Considerations
While this guide focuses on building a 4' x 8' bed, you can adjust dimensions to fit your space. Keep these guidelines in mind:
Width
- Maximum 4 feet wide to reach the center from either side
- 3 feet wide if placed against a wall or fence
- Minimum 2 feet wide for adequate root space
Length
- Maximum 8-10 feet to prevent board bowing
- Consider lumber lengths to minimize waste
- Multiple smaller beds often work better than one large bed
Height
- Minimum 6" for shallow-rooted plants like lettuce and herbs
- 12" ideal for most vegetables (our standard design)
- 18-24" for root vegetables and better ergonomics
Pro Tip: Before finalizing your design, mark the bed's footprint in your yard using stakes and string. This helps visualize the space and confirm dimensions before purchasing materials.
Step-by-Step Instructions to Build a Raised Garden Bed
Follow these seven detailed steps to construct your raised garden bed. Take your time with each step to ensure a sturdy, long-lasting result.
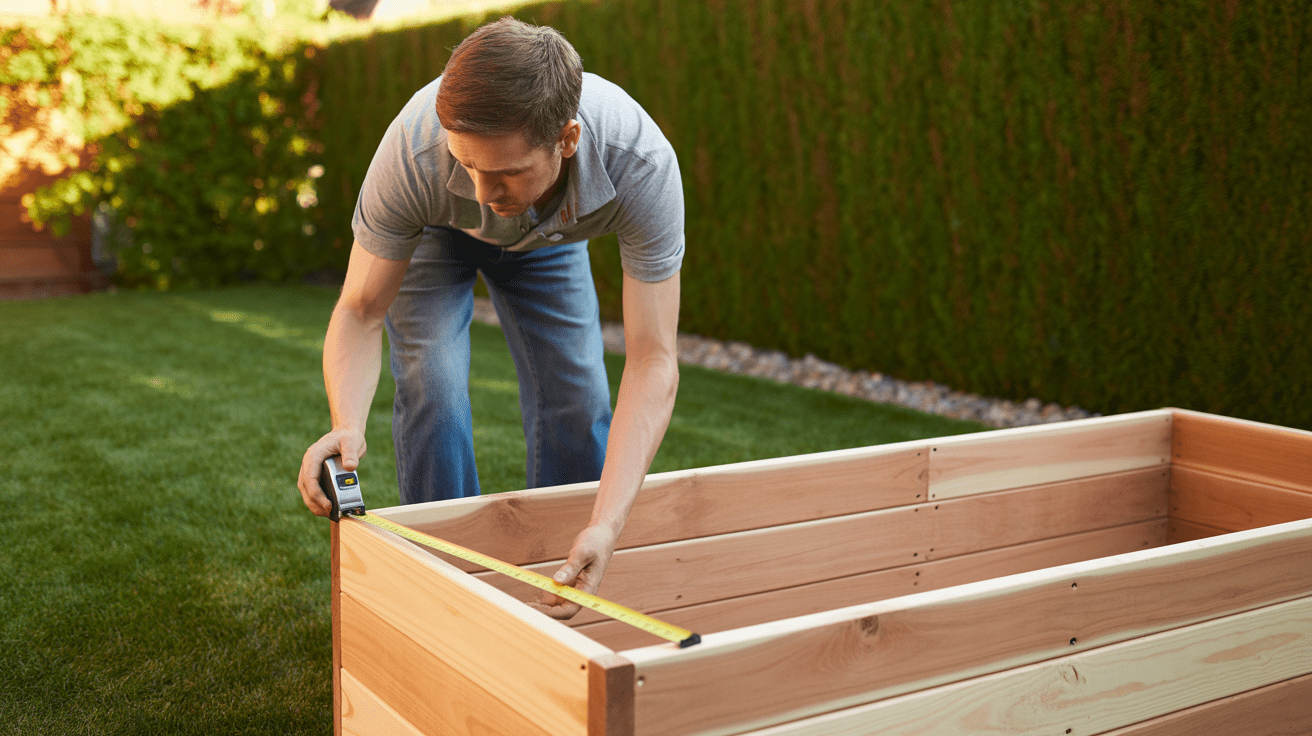
Step 1: Measure and Cut the Lumber
Start by measuring and cutting your lumber to the appropriate lengths:
- For a 4' x 8' bed, cut two of your 8' boards in half to create four 4' pieces for the short ends.
- Leave the remaining four 8' boards at full length for the long sides.
- Cut the 4x4 posts to 12" lengths for the corners (you'll need four total).
- Sand any rough edges to prevent splinters when gardening.
Measurement Tip: Remember that the actual width of a 2x6 board is 1.5" x 5.5". Account for this when calculating your final bed dimensions.

Diagram 1: Lumber cutting layout for 4'x8' raised bed
Step 2: Assemble the Short Sides First
Begin assembly with the short sides of your bed:
- Lay two 4' boards horizontally, stacked on top of each other.
- Position a 4x4 post at each end, flush with the top, bottom, and outside edge of the boards.
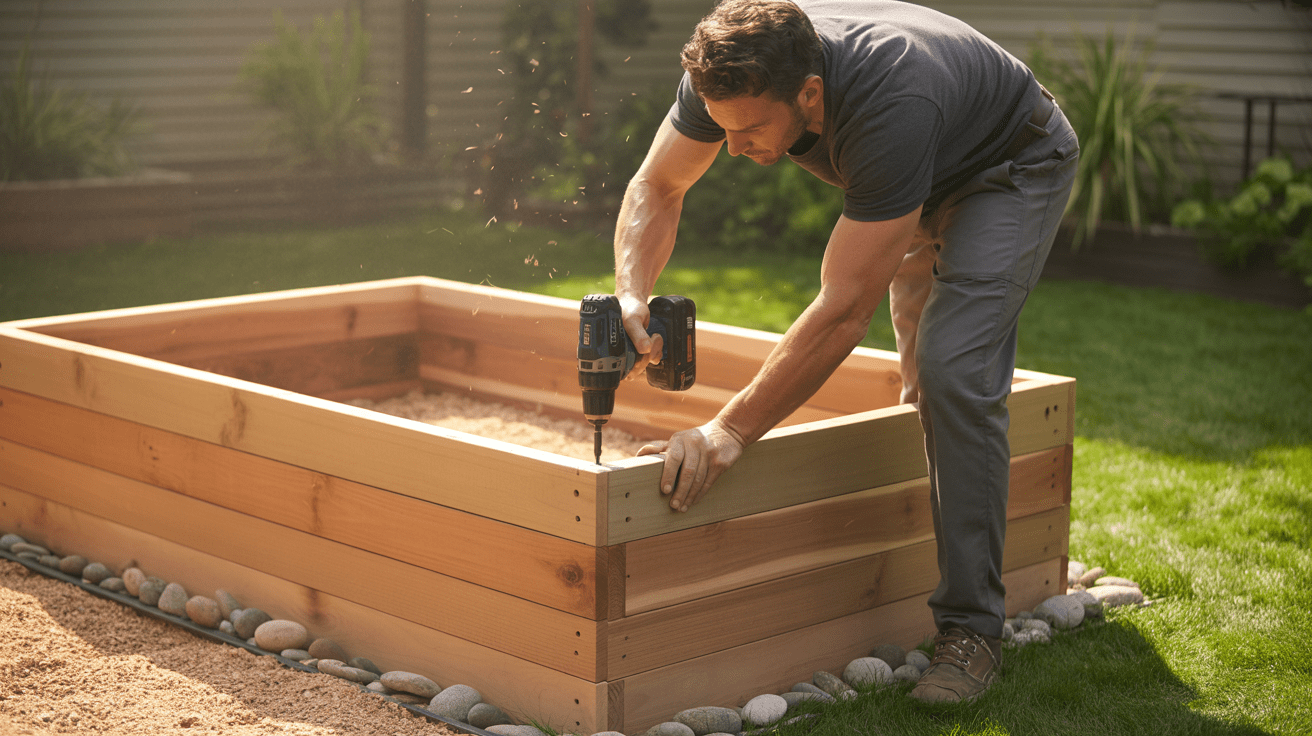
- Pre-drill holes to prevent splitting, then attach each board to the posts using two deck screws per connection point.
- Repeat for the second short side.
Step 3: Attach the Long Sides
Now connect the short sides with the long boards:
- Stand the two short sides upright, spaced 8' apart (measuring from outside to outside).
- Have a helper hold the sides steady while you attach the first long board along the bottom edge.
- Use a square to ensure the corners are at 90° angles.
- Attach the bottom long boards on both sides, then add the top boards.
- Pre-drill and use two screws at each corner connection.

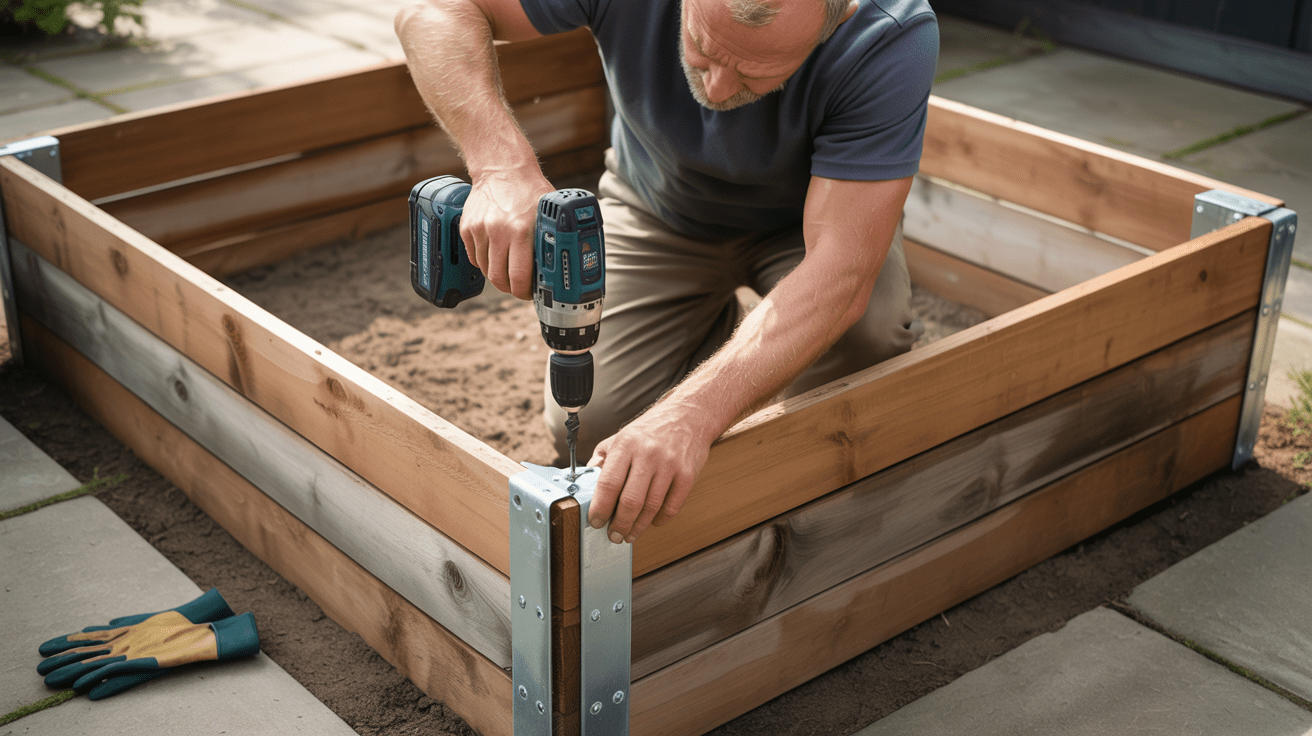
Diagram 2: Corner assembly detail showing proper screw placement
Step 4: Add Support Braces (Optional)
For beds longer than 6 feet, adding support braces prevents the sides from bowing out:
- Position metal mending braces in the middle of each long side.
- Attach braces to the inside of the bed using screws.
- Ensure braces span across both boards for maximum support.
Step 5: Prepare the Site and Position the Bed

Prepare the site where your raised bed will be placed:
- Clear the area of rocks, sticks, and debris.
- For beds on the lawn: mow the grass very short or lay cardboard directly on the grass to smother it.
- For beds on soil: remove any weeds and loosen compacted soil.
- Use a level to ensure the ground is even, or adjust as needed.
- Position your assembled bed frame in its final location.
Step 6: Install Weed Barrier and Pest Protection

Before adding soil, protect your bed from weeds and burrowing pests:
- If using hardware cloth for gopher protection: Cut it to size, place it at the bottom of the bed, and secure it to the inside bottom edge using wide-head screws or staples.
- Cut landscape fabric to size, allowing a few inches of overhang on all sides.
- Lay fabric over the hardware cloth (or directly on the ground if not using hardware cloth).
- Secure fabric to the inside bottom edge of the frame.
- Trim any excess fabric.
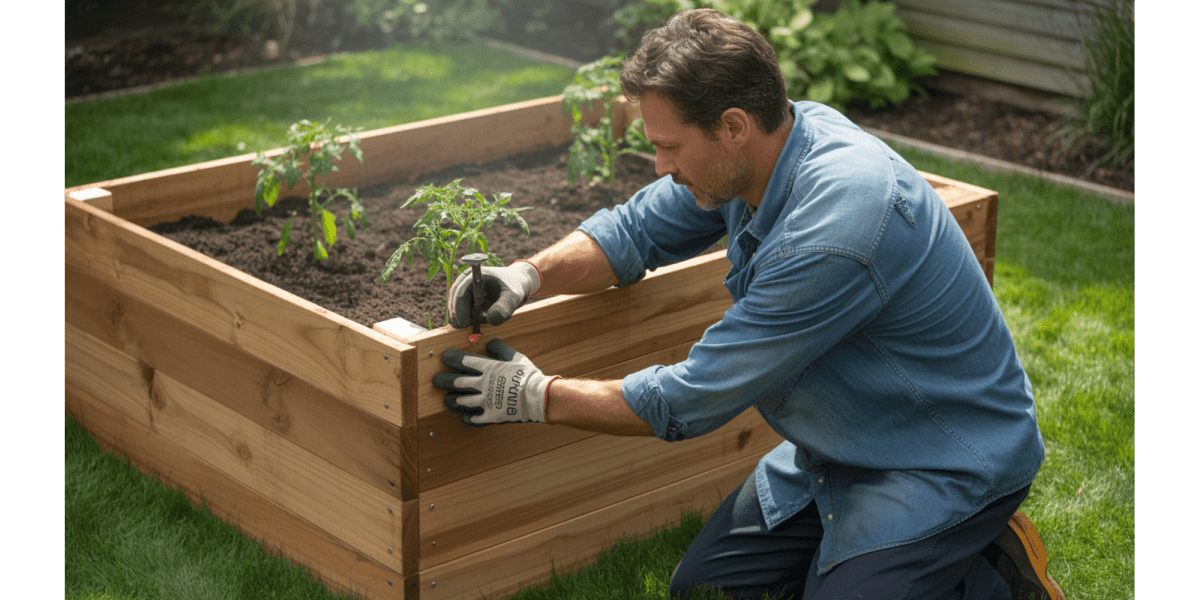
Step 7: Fill the Bed with Soil and Start Planting

The final step is filling your bed with quality soil:
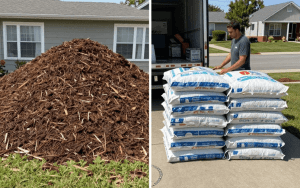
- Create a soil mix using approximately 60% topsoil, 30% compost, and 10% perlite or vermiculite for drainage.
- Fill the bed in layers, lightly watering each layer to help it settle.
- Leave about 1-2 inches of space at the top to prevent overflow when watering.
- Level the soil surface with a rake.
- Allow the soil to settle for a day before planting.
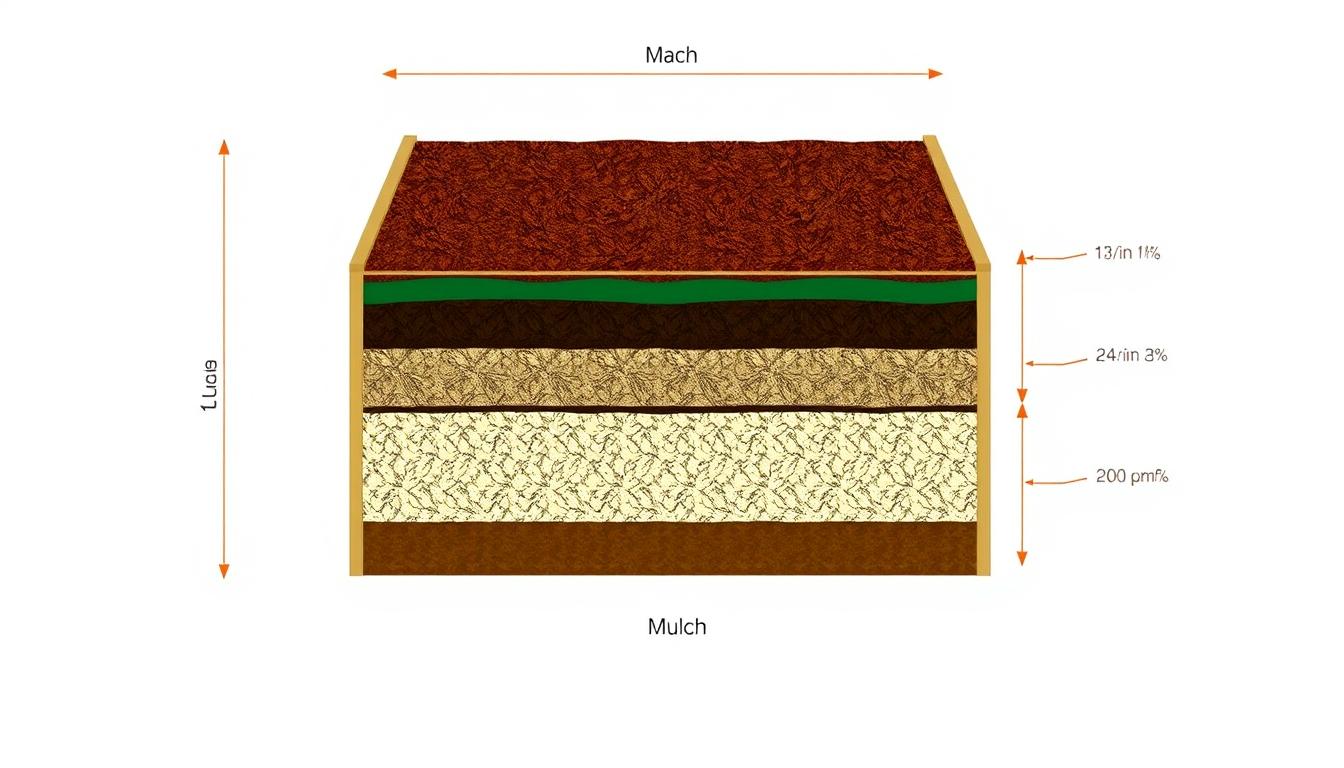
Diagram 3: Cross-section showing proper layering in a raised garden bed
Pro Tips for Raised Garden Bed Success

Construction Tips
- Wood Protection: Apply non-toxic wood sealer to extend the life of your bed by 3-5 years.
- Corner Reinforcement: Use metal corner brackets for additional stability in larger beds.
- Height Extension: Design beds to accommodate additional height if needed later.
- Modular Design: Build multiple identical beds for a cohesive garden design.
Gardening Tips
- Irrigation: Install drip irrigation before filling with soil for efficient watering.
- Mulching: Add 2-3 inches of mulch on top to retain moisture and suppress weeds.
- Trellising: Add vertical supports for vining plants to maximize growing space.
- Soil Maintenance: Add fresh compost annually to replenish nutrients.
Pest Control Strategies
- Gophers & Moles: Line the bottom with ¼" hardware cloth (not chicken wire).
- Rabbits: Add a 2-foot fence around beds or the garden perimeter.
- Slugs: Create copper tape barriers around the top edge of beds.
- Deer: Install 7-8 foot fencing around the entire garden area if deer are present.
Companion Planting Ideas
Maximize your raised bed's productivity with these companion planting combinations:
Tomato Companions
- Basil (repels pests)
- Marigolds (deter nematodes)
- Carrots (use space efficiently)
Cucumber Companions
- Nasturtiums (trap aphids)
- Dill (attracts beneficial insects)
- Radishes (maximize space)
Lettuce Companions
- Chives (deter aphids)
- Strawberries (ground cover)
- Calendula (attracts pollinators)
Frequently Asked Questions
How deep should a raised garden bed be?
The ideal depth depends on what you plan to grow. For most vegetables, a minimum depth of 12 inches is recommended. Shallow-rooted plants like lettuce and herbs can grow in 6-8 inches of soil, while root vegetables like carrots and potatoes benefit from 18-24 inches. Deeper beds also provide better drainage and require less frequent watering.
What's the best wood for raised garden beds?
Cedar and redwood are the best choices due to their natural rot resistance and longevity (10-20 years without treatment). Douglas fir and pine are more affordable options but will only last 3-7 years. Avoid pressure-treated lumber for food gardens as it may contain chemicals that can leach into your soil. Regardless of wood type, thicker boards (2" rather than 1") will last significantly longer.
Should I put anything in the bottom of my raised garden bed?
For most raised beds, a layer of landscape fabric is recommended to prevent weeds from growing up into your bed. If you have burrowing pests like gophers, add ¼" hardware cloth beneath the fabric. Avoid using cardboard or newspaper as they decompose quickly. Don't add rocks or gravel for drainage—this actually creates a perched water table that can waterlog roots.
How do I fill a raised garden bed affordably?
To fill beds economically, create a mix of approximately 60% topsoil, 30% compost, and 10% perlite or vermiculite. Buying in bulk from local landscape suppliers is much more affordable than bagged soil from garden centers. You can also incorporate some native soil if it's of reasonable quality. Another option is the "lasagna method" of layering organic materials (leaves, compost, soil) that will break down over time.
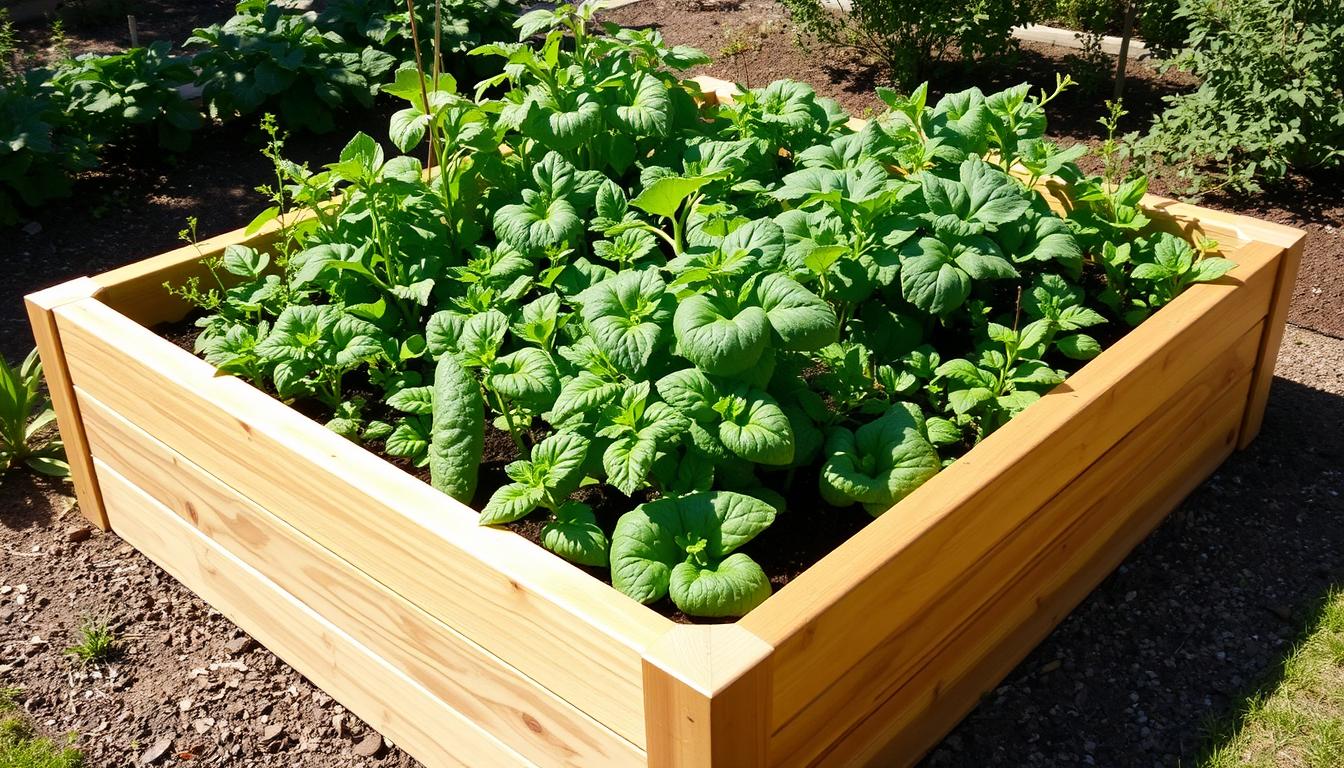
Conclusion: Enjoy Your New Raised Garden Bed

Building your own raised garden bed is a rewarding project that sets the foundation for years of successful gardening. By following the steps in this guide, you've created a growing space that will provide better drainage, soil quality, and ergonomics than traditional in-ground gardens.
Remember that your raised bed is an investment that will improve with time as the soil develops and you learn what grows best in your specific conditions. Start with easy-to-grow plants your first season, and don't be afraid to experiment with different varieties and companion planting combinations.
We'd love to see your finished raised garden bed projects! Share your photos and experiences with our gardening community to inspire others and get feedback on your design.
Ready to Start Building?
Download our free printable raised bed plans and materials checklist to take with you to the hardware store. Includes exact measurements, cutting diagrams, and a shopping list for 4'x8', 4'x4', and 3'x6' bed designs.
Download Free Raised Bed Plans
DISCLAIMER
This document is provided for general information purposes only and should not be relied upon as providing legal advice, technical, or specific operational guidance to the reader, whether as to the practices described in the document or the applicable legal requirements and regulations. lawnfly.com expressly disclaims any responsibility for liability arising from or related to the use or misuse of any information in this document.